Friday, November 30, 2012

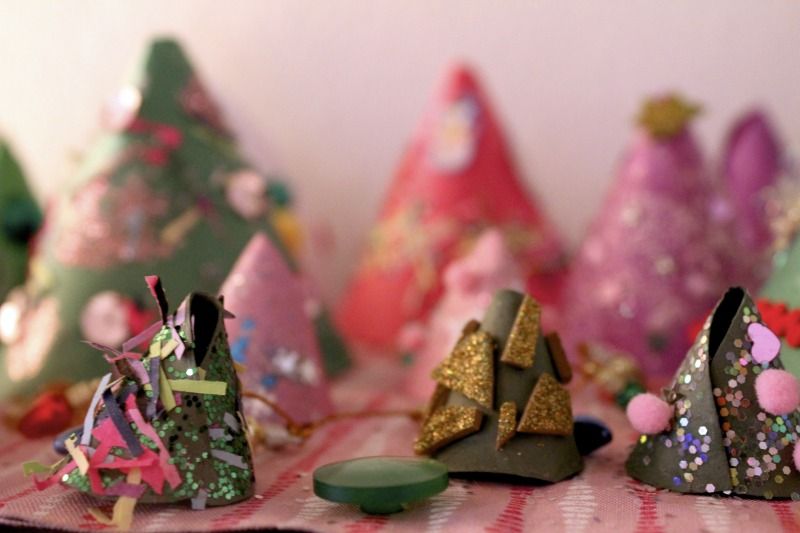
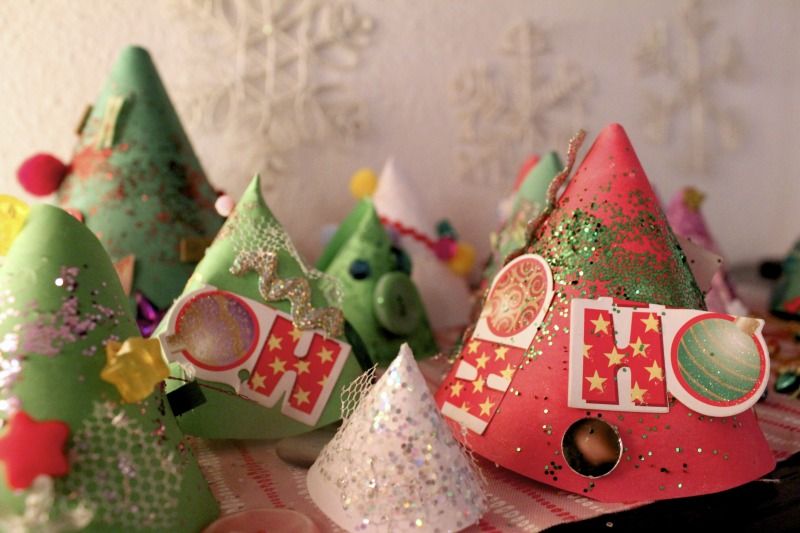
Paper Cone Christmas Tree

http://www.projectsforpreschoolers.com/paper-cone-christmas-trees/


A Junior cabin crew member delighted in
making paper cone Christmas trees yesterday assisted
by the leader of our belòved ship the Ebony Oyster: Cap'n Mad Ellen.


Saturday, November 17, 2012

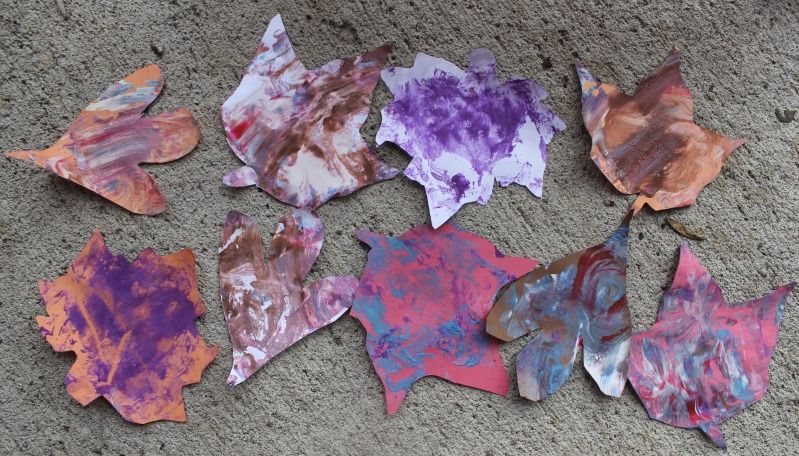
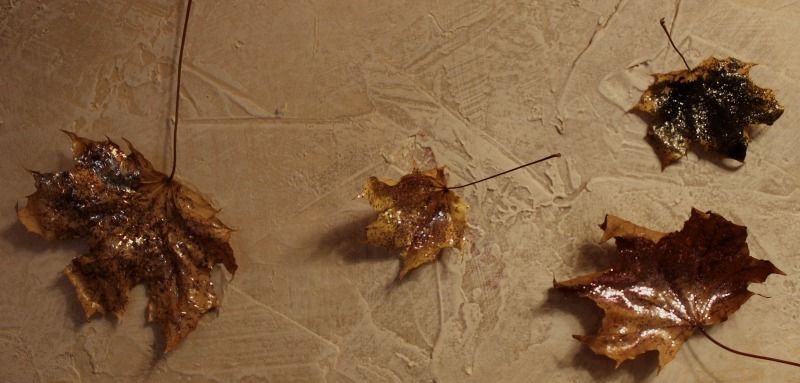
Marbleized Autum Leaves

Source: http://www.apartmenttherapy.com/how-to-make-a-marbleized-leaf-centerpiece-180158

 Gale force winds off the Barbary Coast blew these leaves on board ship our ship the Ebony Oyster. The crew believe the leaves possess "magical prope'ties".


___________________________________________________________________________________


Thursday, November 8, 2012

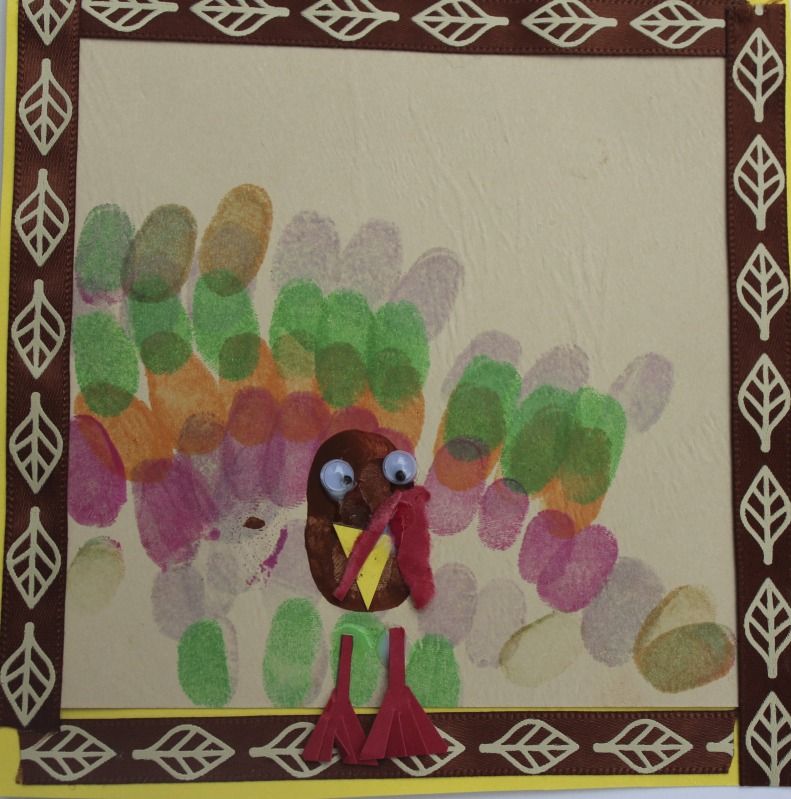
Fingerprint Turkey

Log entry 8 November 1712:

Greetings from the mizzenmast of the Ebony Oyster. Have arrived in port late last evening for provisions-namely: glue, paper products (card stock and similar) and fancy silk trim. Our rum  ribbon supply is dangerously low.

Signed, Paper Monkey


Need:

-paper
-ink pad in various colors
-googly eyes (or small buttons, beans, hole punch paper dots, etc. if you prefer)
-glue

Press your index finger into an ink pad color of your choice to make the turkey's feathers. For the turkey's main body we dipped a thumb in brown paint (didn't have brown ink).

Cut out a wattle, beak, caruncle and feet with scrap pieces of paper. Glue the pieces on the
turkey's main body.

Glue the eyes on the turkey and set the craft aside to dry flat.


__________________________________________________________________


Monday, October 29, 2012

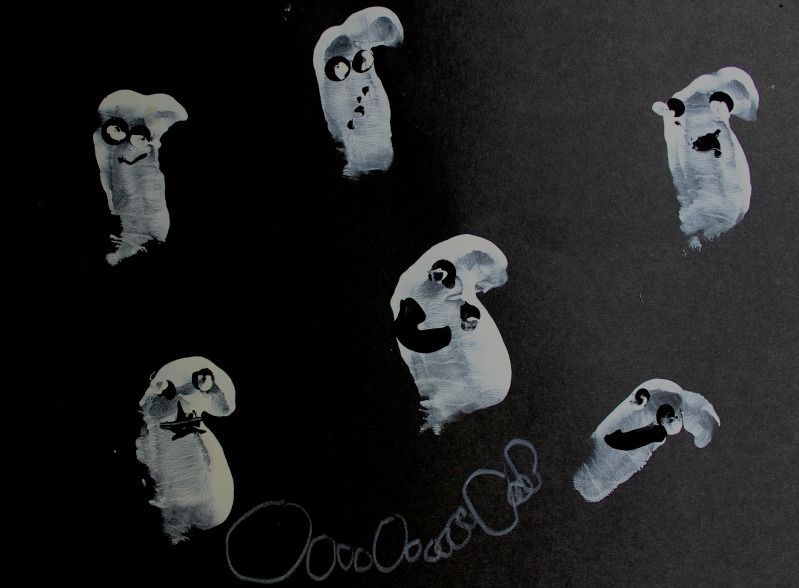
GhooOoooOooosts!

Need another last minute, fast and easy Halloween craft project? I don't remember where I discovered this craft idea or if it's something I conjured up.


Need:


-black construction paper
-white paint
-black paint
-brushes


Directions:

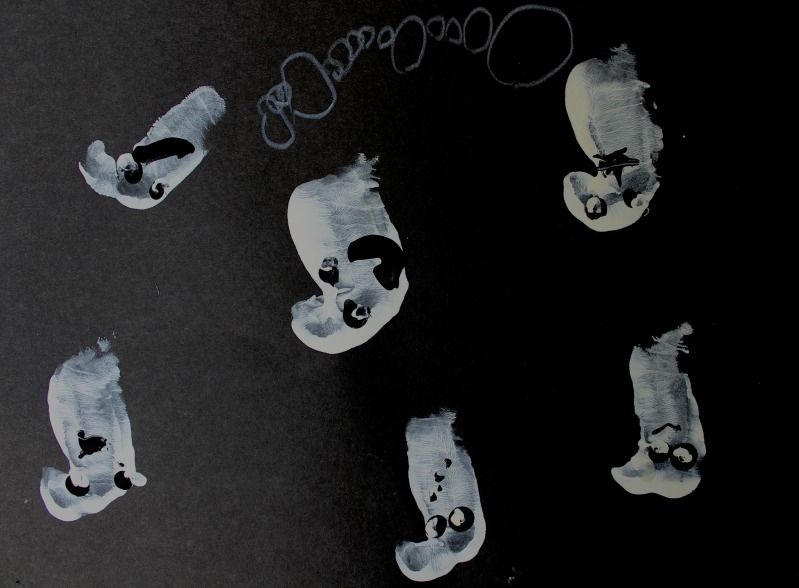
Make a fist. Paint your hand (pinkie side not thumb side) from tip of pinkie all the way down to your wrist.


Place your fist down on black construction paper then carefully raise your fist up and off the paper. Tip: practice a few times on scrap paper first. 


*Add eyes, nose, mouth with black and white paint. We used various sizes of brushes to paint the eyes, nose and mouth. Alternatively, a cotton swab works well as does a toothpick or the handle end of a paint brush.

Set aside to dry flatly (or else the paint will drip down).

*Note: we forgot to flip our ghost picture around 180º and accidentally painted eyes, nose and mouth on the wrong end-giving our friendly ghosts a 50s' pompadour look. Reversing the photo shows the mistake:


_______________________________________________________________________


Capt. Jack Aubrey: To wives and sweethearts. 
Officers: To wives and sweethearts. 
Capt. Jack Aubrey: May they never meet. 


Friday, October 26, 2012

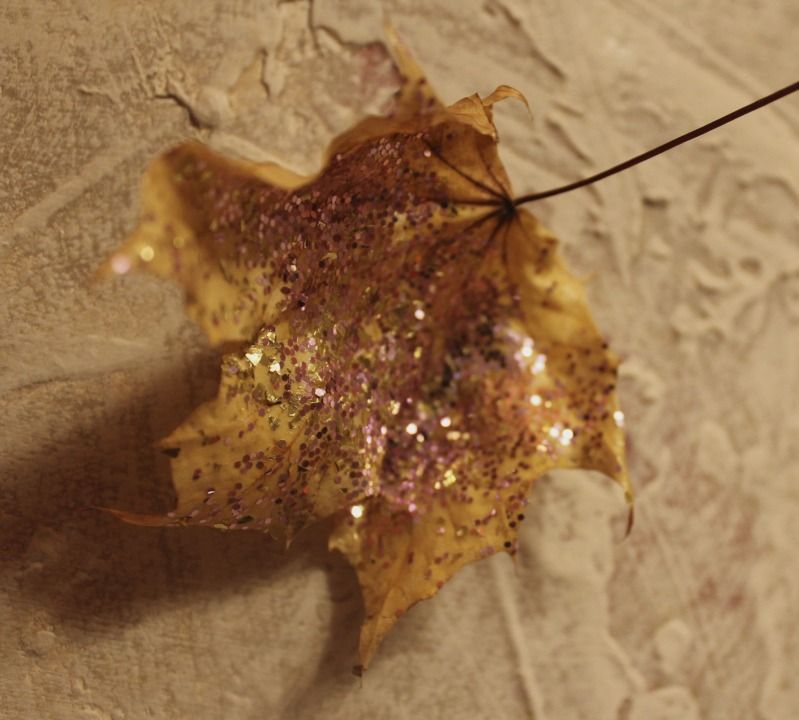
Glittery Autumn Leaves

I stole the idea for this incredibly fast and easy craft project from a window display at a daycare.


What you'll need:

-autumn leaves (not too dry or brittle!) 
-glue 
-glitter in your choice of seasonal colors (we used iridescent, gold, lavender and black loose glitter) 
-fishing line or similar to hang or tape to adhere to wall 


To make: 


Brush a thin layer of glue on the clean leaf. Lightly sprinkle 
with a glitter color of your choice. We also used two different colors on one leaf. 

Set aside, lay flat and allow to dry completely.


Leaves can be taped on the back for a wall display or hung with fishing line (or hawser) from the ceiling.

Monday, October 22, 2012

Wednesday, October 17, 2012

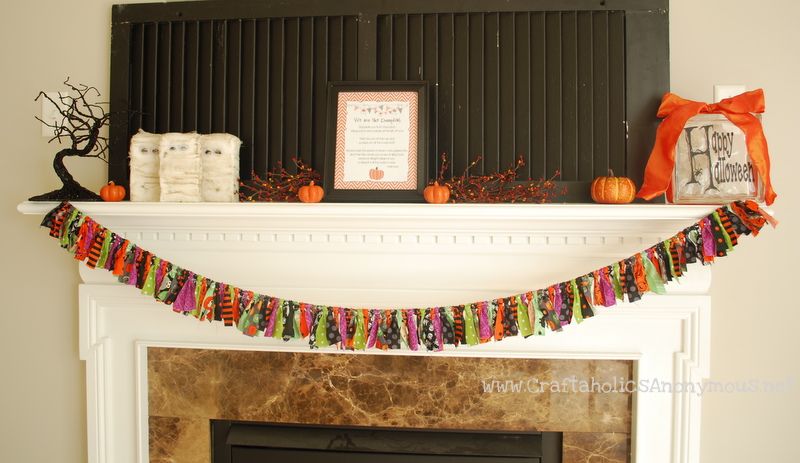
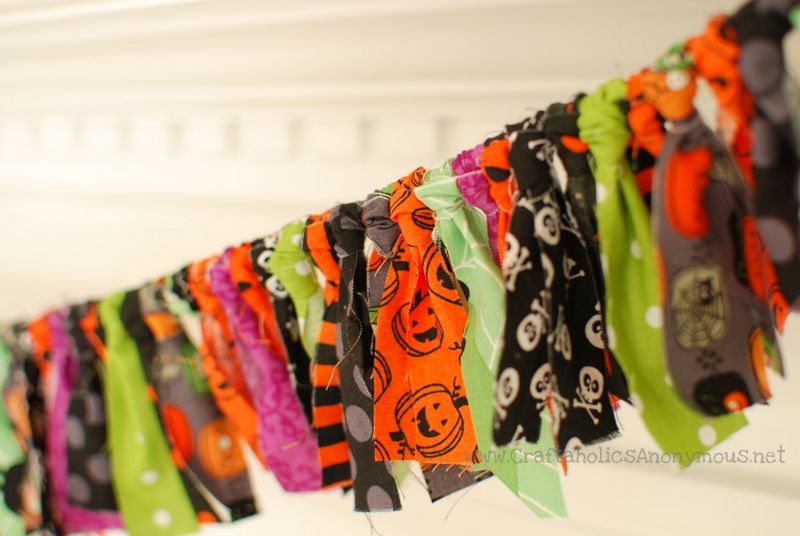
Festive Halloween Banner


Notes: you don't have to use rope to tie the fabric...ribbon?


Favorable winds will bring you here for additional photos:

http://www.jandofabrics.com/newsletters/fabric-halloween-banner/


"Let’s face it: Halloween decorations are horrifically addictive, like this awesome fabric Halloween banner! After you scour the shelves at your favorite haunts for Halloween items, grab a ton of Halloween fabric and get busy with the personal touches! Find your favorite fabrics and get started!

Finished product created by CraftaholicsAnonymous! You anonymous crafters can find any fabric at our online store for your future projects!

You will need:
• Halloween theme fabric and a few surprise fabrics: think polka dots, stripes, etc.! Roughly a yard of fabric, depending on how long you want your banner.
• Scissors, pinking shears or rotary cutter
• 90” of pipe cleaners or rope
•  Fray check for a smooth finish at the end of the banner rope

What to do:
• Begin by cutting the fabric, as this will take the longest! The strips in the photo below are 1” x 9”, and there were 140 total.
• Now create the knots by folding the fabric in half (lengthwise) and placing it over a finger, securing it by folding the ends of the strip over the rope and through the loop where the finger is located (this way it will easily slide onto the banner rope).

• After all of the fabric pieces are properly knotted, you can begin to slip them onto the rope and arrange them according to desired thickness. The more pieces of fabric, the more “bunching” you will get. Typically, you want to scrunch them together just enough to hide the rope, but not so much that some of the pieces disappear!
This piece will add festive flair, texture and color to this year’s Halloween décor! Place it on the front door, mantle, use it as a party favor—the options are endless!"